New Knitting Pattern: Twilight

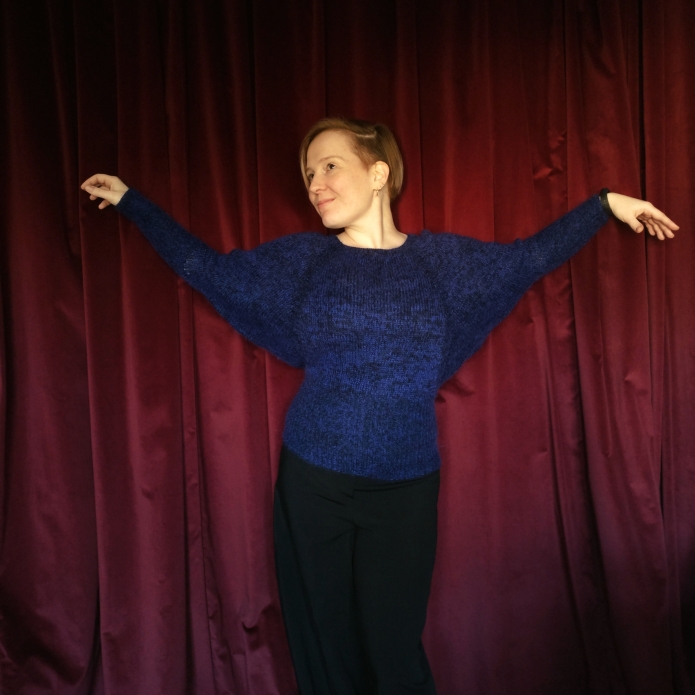
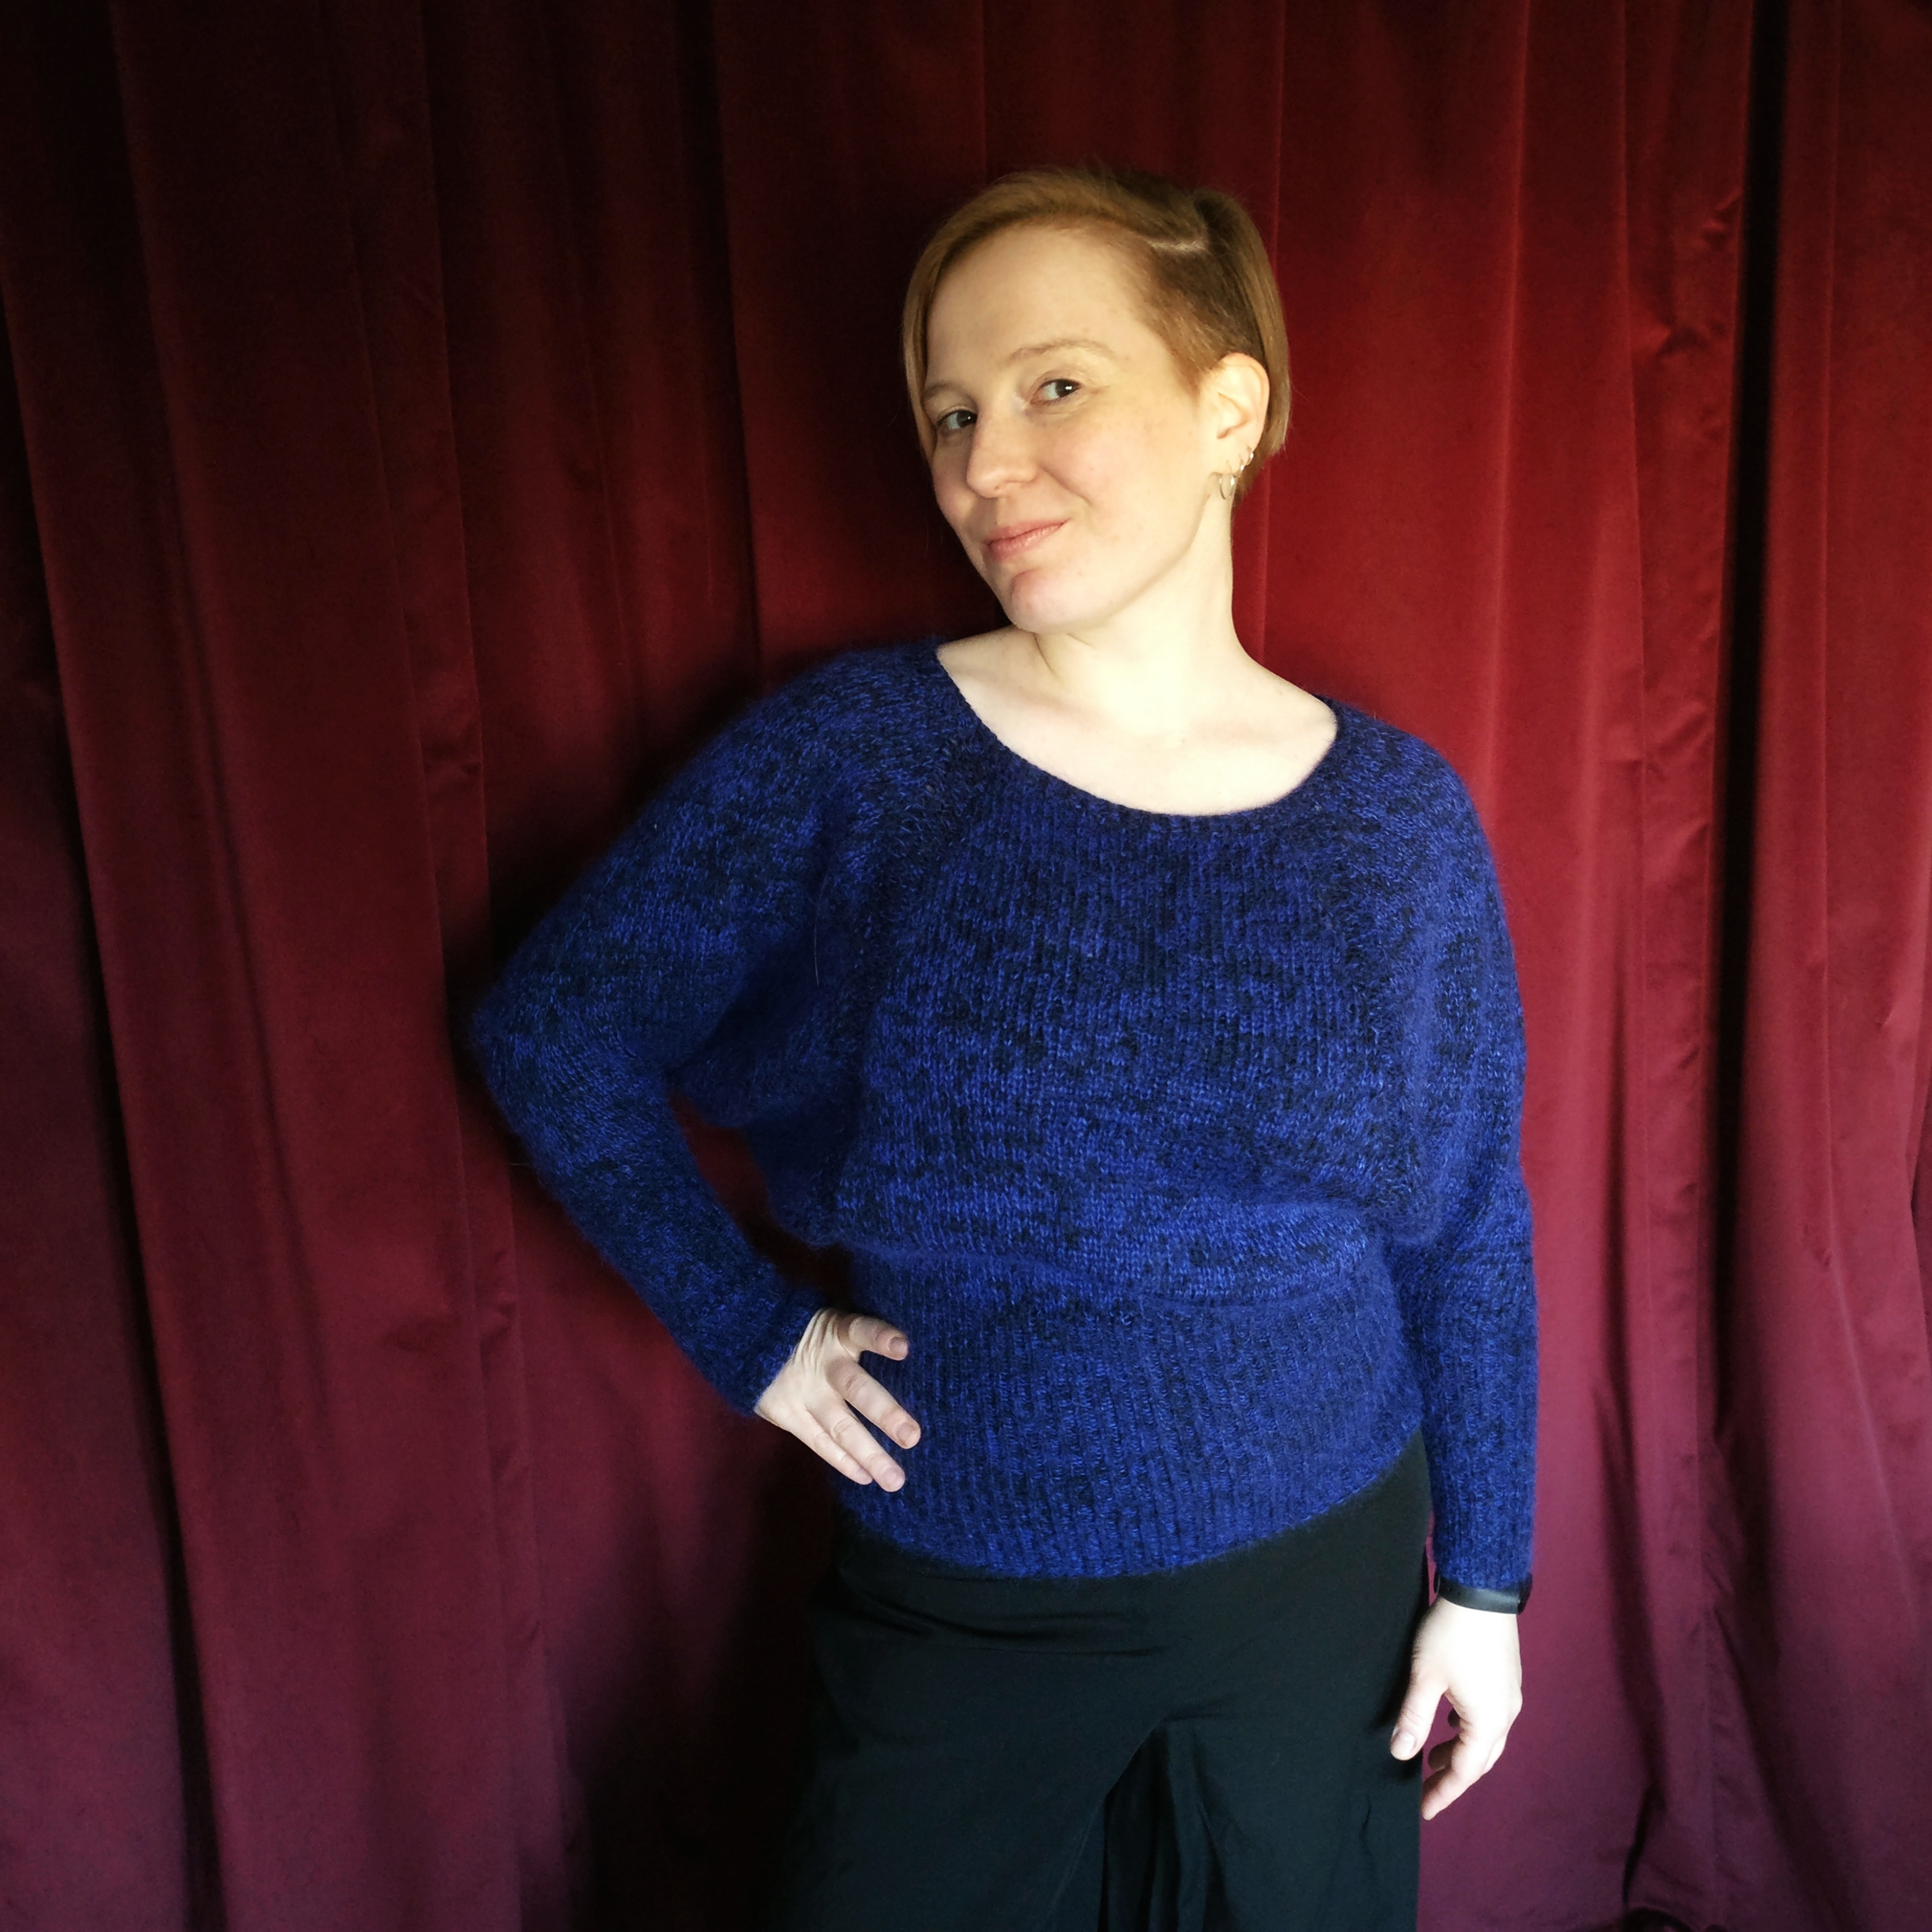
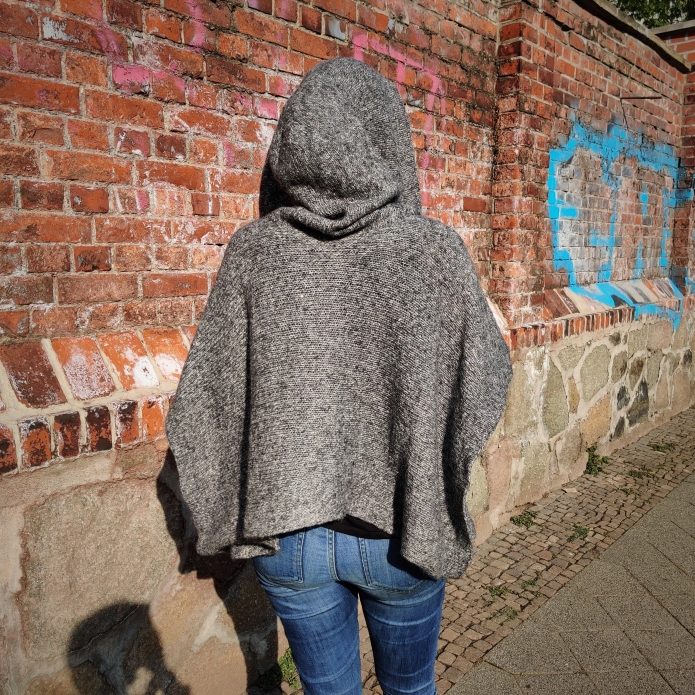
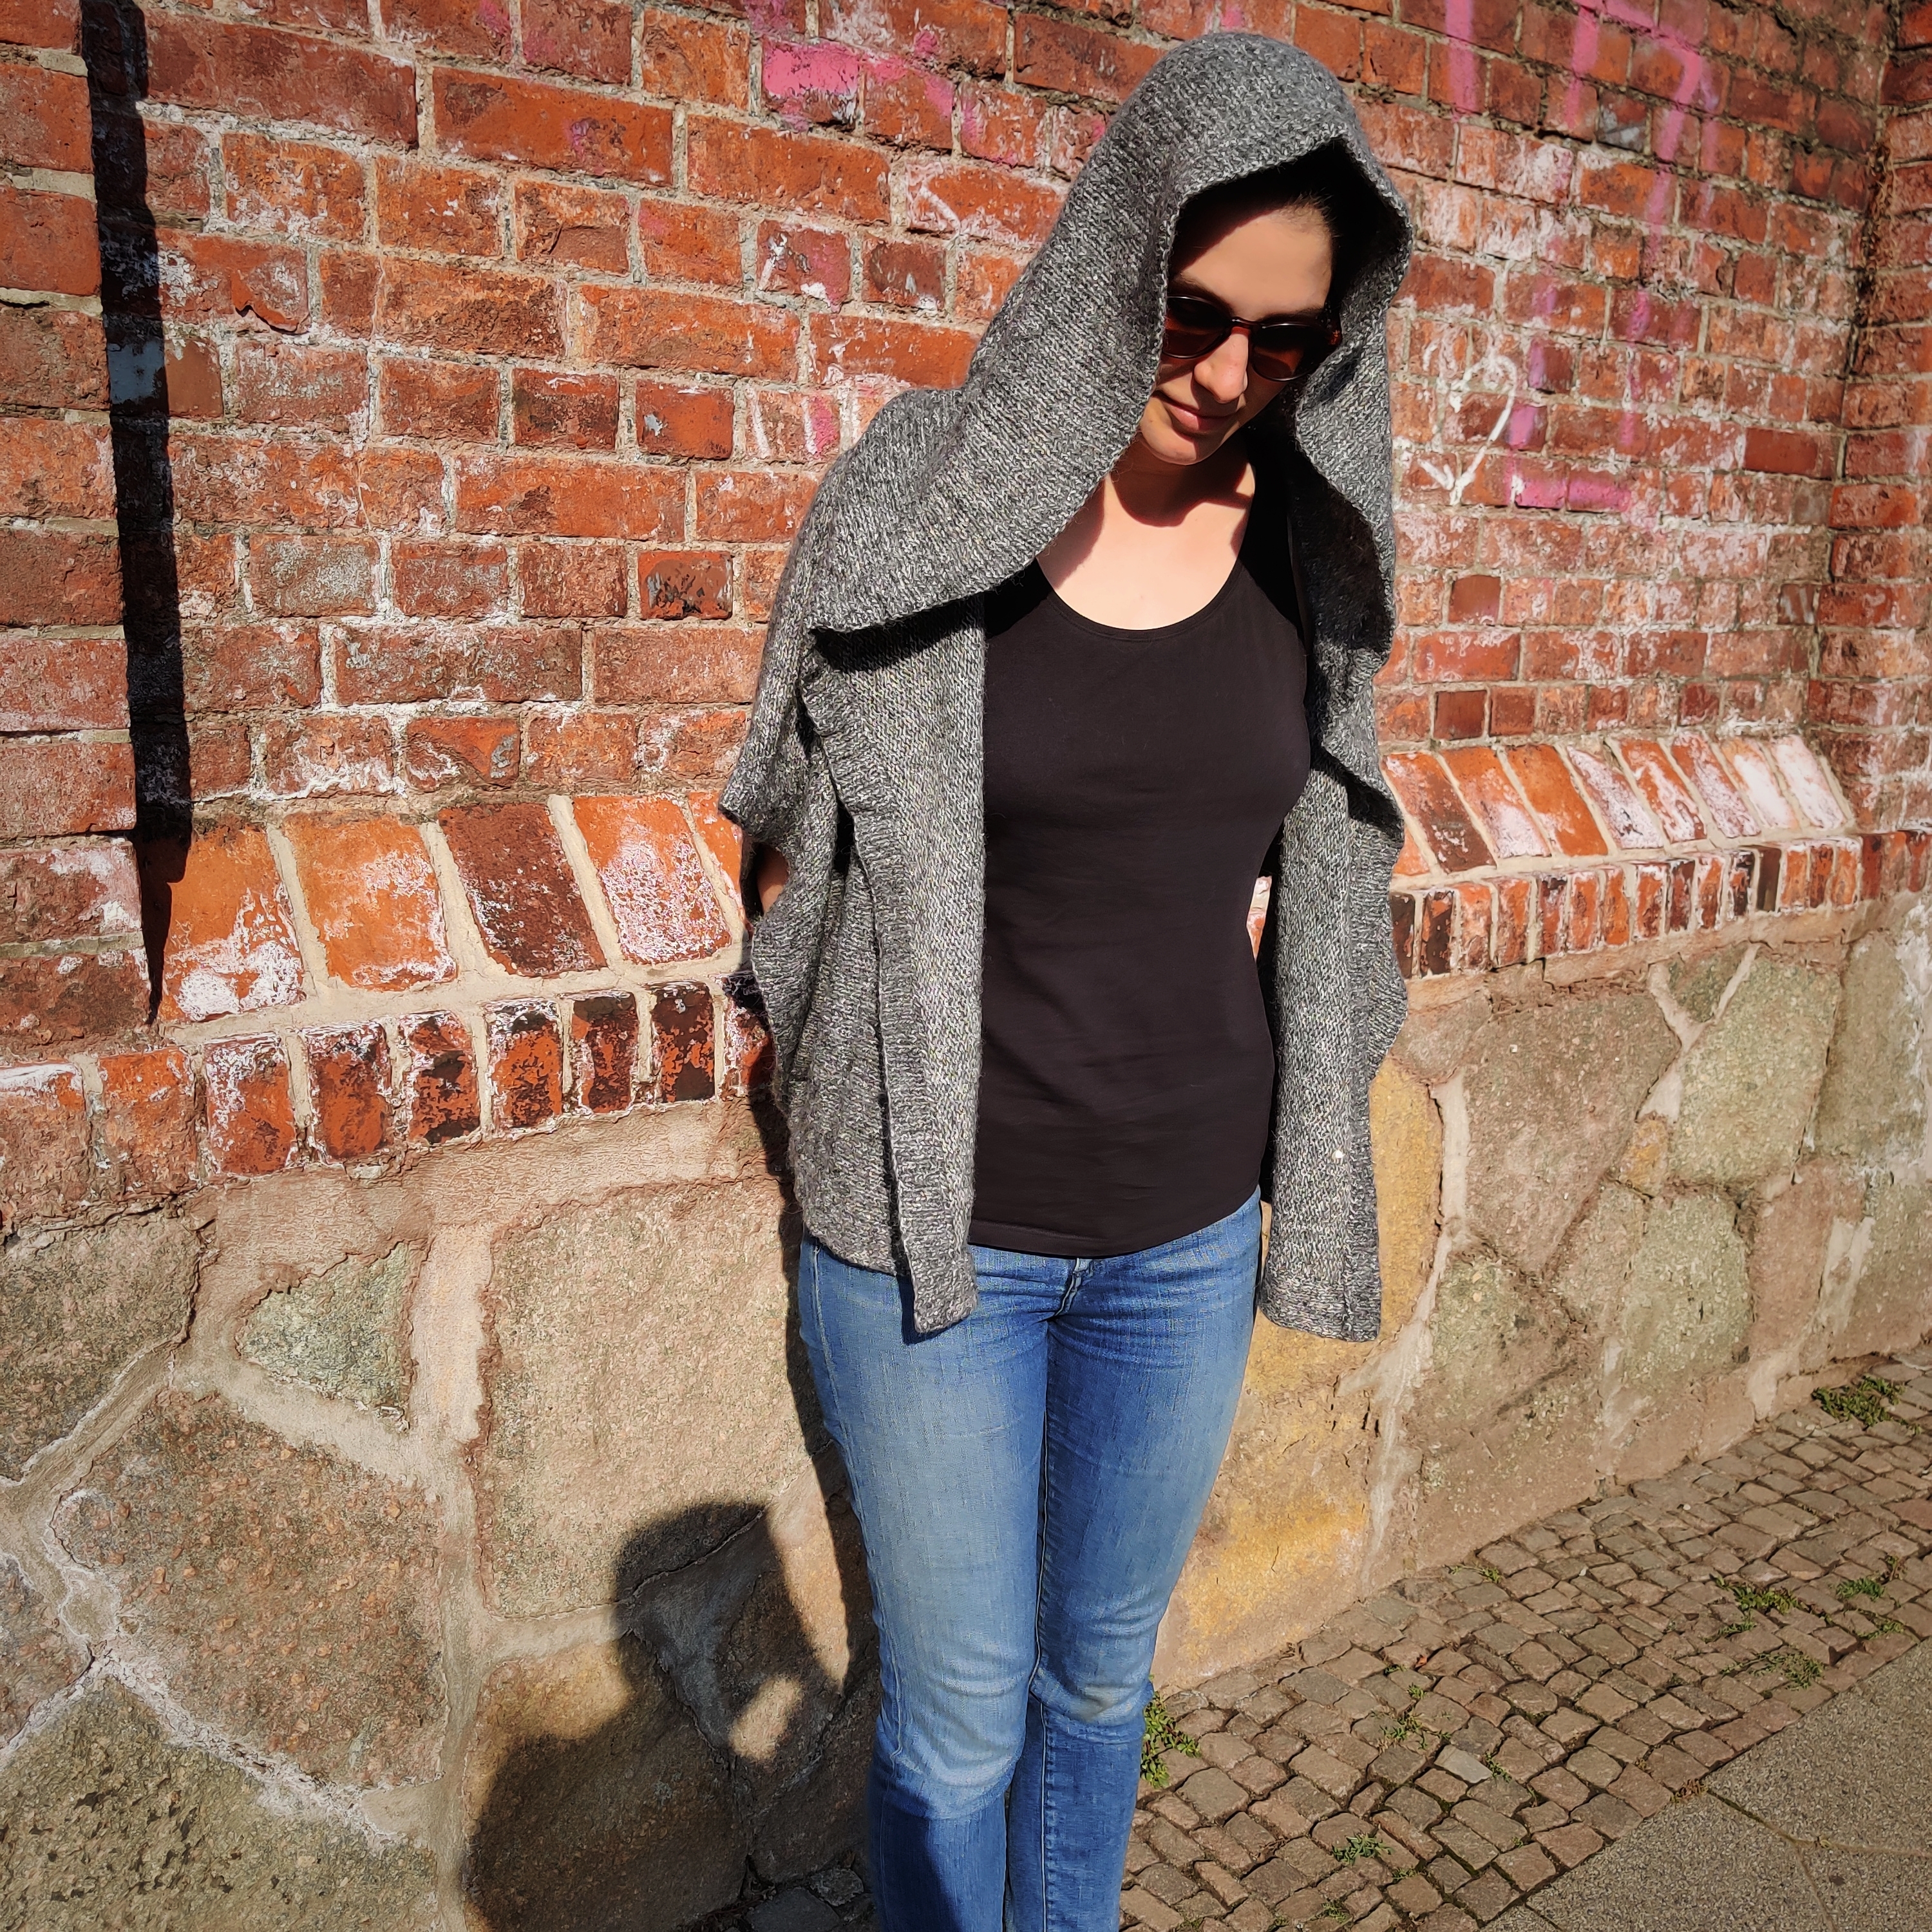
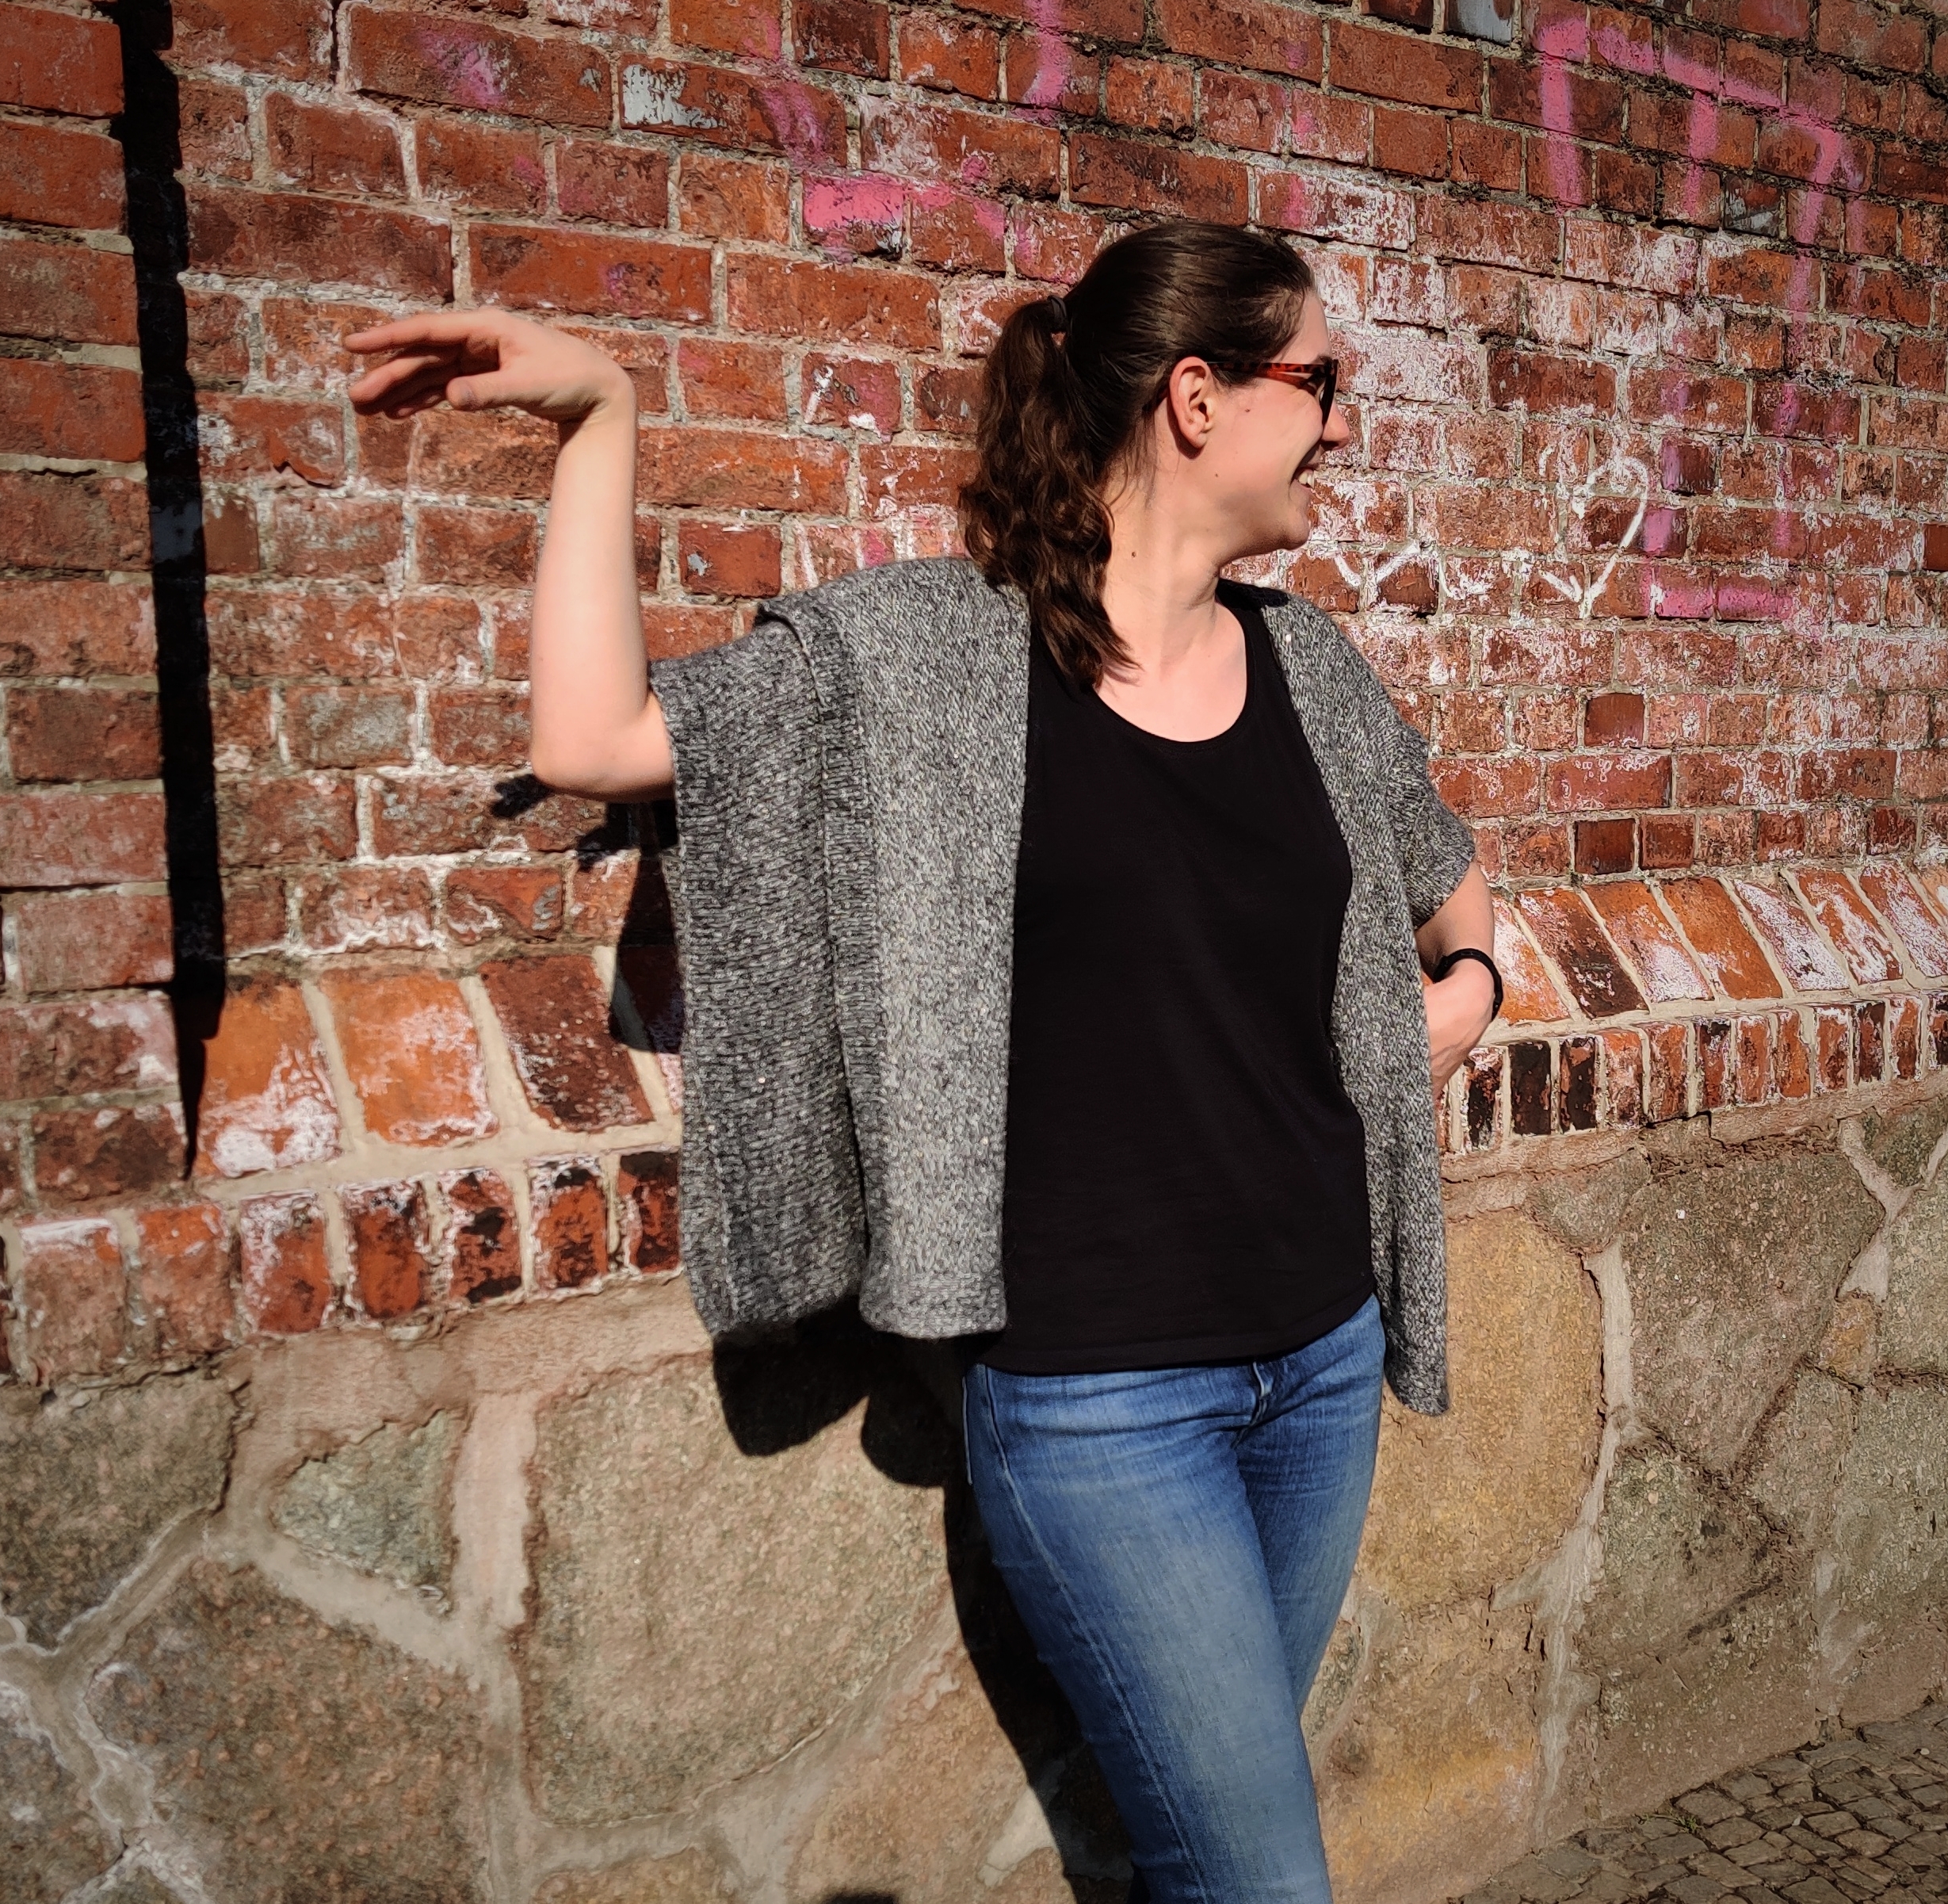
Twilight started as a thought experiment on an unusual, but versatile layering piece. I was looking for something more interesting than a classic cardigan, but definitely more warming than a classic shrug or bolero. I finally opted for a unisex shape with an extra large hood and doomy vibes. This oversized, open front cardigan with exaggerated, elbow length sleeves is knit sideways in one piece. It has folded hems on all edges to keep the details simple due to the dramatic shape of the garment. You can wear it on top of simple a dress, to add that special something to an everyday jeans and t-shirt look or style it with other statement pieces in your own unique way.

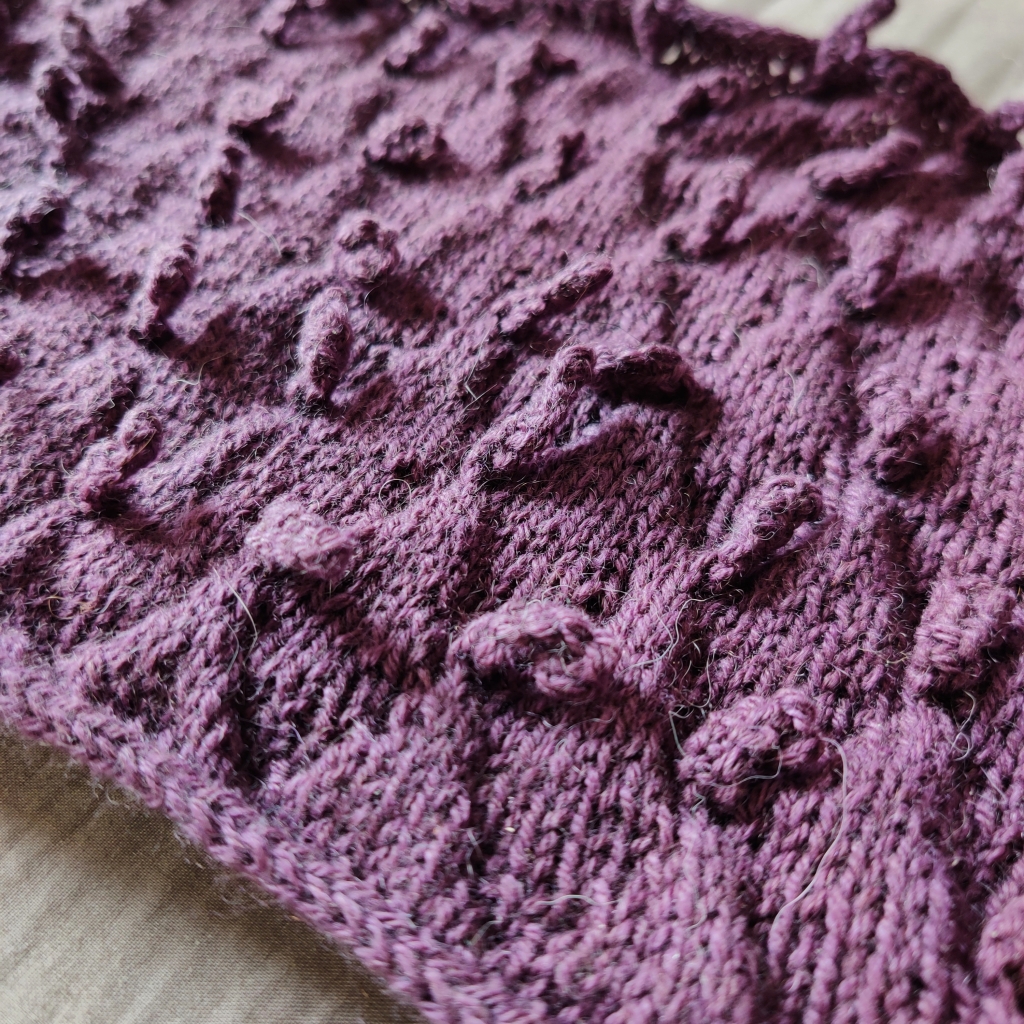
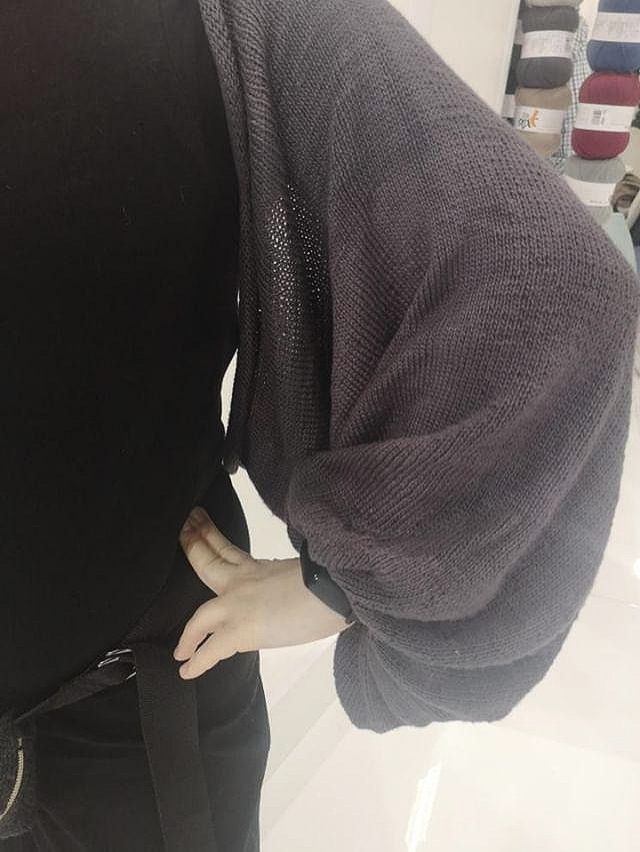
My sample is knit in Austermann Alpaca Star (Ravelry link), a surprisingly decent, sequined, fluffy yarn. The composition is 36% alpaca, 35% nylon, 15% silk and 14% cotton. The sequins are really tiny and add just a bit of sparkle in direct sunlight. Of course, you can easily substitute this yarn with a worsted weight yarn or 2-3 strands of a lace weight mohair and silk blend of your choice that meets gauge.

Due to the garment’s construction, the pattern is available in a limited number of sizes only, ranging from an intended bust size of 32” to 50”. I am really sorry for this, I promise to think about possible construction issues earlier next time.

How to Get the Pattern

You can buy the pattern in my Ravelry store and on payhip. For more pictures, check #twilightcardigan on Instagram to see the stunning garments of my gorgeous testers! Enjoy the pattern, I’m looking forward to your interpretations!

New Knitting Pattern: Magnified

[collaboration]

I have been playing around with textures a lot recently, so when Wolle Willich asked me to design a one-skein project with their stunning June Cashmere Fingering yarn, it was clear I would incorporate some of that research. The yarn is pure cashmere, so it is extraordinarily soft and will keep you warm when it is cold without making you sweat at higher temperatures. In my opinion, this is the ideal fibre for a luxury cowl you can wear in any season.

The design as such features i-cord edgings, a slip stitch texture and little cords sticking out here and there to emphasise the three-dimensional effect. Apart from the i-cord edgings, there are no advanced techniques used, so it makes a quick knit to try out some new textures. One 50g skein of June Cashmere Fingering is enough to make this little beauty. If you have not used this yarn yet, I recommend to try it out if you can afford it. Although it defininitely is a luxury yarn, it is a dream to work with and to wear. As a bonus, it is ethically sourced and supports Kyrgyz shepherds directly.

You can buy the English pattern in my Ravelry Store, but I also have written a German version which is available exclusively at Wolle Willich with the purchase of June Cashmere yarn. I am looking forward to see your projects!

New Knitting Pattern: Opulence

[advertisement: PR sample, unpaid links]

When I was given some Rowan Island Blend samples at last year’s Rowan Roadshow, I instantly knew I would turn them into a very special hat. I had experimented on an unusual shape before and was sure that this soft and drapey yarn was the perfect choice for my idea.

I wanted a hat that can be worn either as a beanie or as a tam. There also was this idea of three-dimensional segments that add dramatic volume. Voilà, Opulence was born. The hat looks extra spectacular when worked in different colours, but due to its unusual shape, it also looks stunning in one single colourway without the colourwork. Opulence is worked bottom-up in one piece using intarsia in-the-round if you opt for the multi-coloured version. A folded hem contrasts the opulent crown.

My sample uses Rowan Island Blend (70% Falkland merino wool, 15% baby alpaca, 15% silk; 137 yd / 125 m per 50 g) in Empire as main colour and Jet as contrasting colour. The DK weight yarn is very soft and drapey, light enough to wear the hat in spring, yet warm enough to also wear it in winter. However, if you prefer another DK weight yarn, just make sure you meet gauge and surprise me with your interpretation! The pattern comes in six sizes to fit to fit 14 (16, 18, 20, 22, 24)″ / 35.5 (40.5, 45.5, 50.5, 56, 61) cm head circumference. As usually, you can buy the pattern in my Ravelry store. I am looking forward to all your colourful Opulence hats!

A Scrap Yarn Sweater, Luxury Edition

[advertisement: unpaid links]

First, I have to admit I finished this one about a year ago, wore it all winter and forgot to blog about it. Today, I have started to wear it again so I better tell you about it right now.

I decided to knit this sweater as an experiment on how to use up several black sock yarn leftovers from different brands at once. Of course, there were some differences in colour and texture, so I held them together with a neon blue Kidsilk yarn from my stash which I never would have used on its own. The result just looks stunning with the marled effect of the two yarn types together. As a plus, you only feel the softness of the Kidsilk yarn on your skin, there is no itchyness of the sock yarn involved.

The pattern used is Top-Down Top by Anna & Heidi Pickles, a cleverly constructed, batwing sleeved sweater. It is super easy to follow and quick to knit on 5.5 mm needles. It is knit top-down in one piece with minimal finishing. The batwing sleeves end around the elbows and the waistline, respectively, followed by tight ribbing to make it a long-sleeved, hip-length sweater. This makes it very comfortable to wear as you can still fit into a regular coat. Perfect!

The blue yarn, by the way, is Kid Seta by Madil Yarns. In my opinion, the quality of this yarn is outstanding with long fibre lengths and extreme softness. It is a pleasure to knit and wear. I am really sad this yarn is discontinued.

However, this sweater already has become a winter wardrobe favourite. It is lightweight, yet warm and can be styled in a million ways from casual to glamorous. Maybe I should mix up leftover and unloved yarns more often.

New Knitting Pattern: Jewels

[advertisement: yarn support, unpaid links]

When I first started to experiment with stacked stitches, a technique Xandy Peters is quite famous for, I was fascinated by the endless possibilites that opened up to me. One of them was using stacked increases for shaping, so I created an unusual edging for an otherwise pretty classic, cap-sleeved, slightly cropped tee. This included contrasting bobbles to add that little extra something. Jewels was born and already is my favourite top to wear this fall.

If you have never worked stacked stitches before, the technique may seem a bit intimidating, but I found it quite easy to learn. It allows to create wavy structures without any short rows or a gazillion of individually attached pieces. Nonetheless, I recommend to take a test run with some scrap yarn to get used to it.

Jewels is part of The Fibre Co.‘s yarn support programme and uses their wonderful Road to China Light, a luxury blend of 65% baby alpaca, 15% silk, 10% camel and 10% cashmere. The sport weight yarn is very soft, warm yet light and gives extraordinary drape. Jewels is worked top-down in one piece with set-in sleeves. It is slightly cropped and intended to end at the top edge of a medium-waist pair of jeans. Jewels comes in 17 sizes from 28” – 60” bust circumference. You can buy the pattern on Ravelry. I am looking forward to your interpretations!

Please contact me in case you need a larger size, I am sure we can work it out.

A DIY Tulle Circle Skirt, Maxi Length

Have you ever wondered why maxi length, DIY tulle circle skirt tutorials are really hard to find? I’m going to explain. But first, you should take a look at any DIY tulle circle skirt tutorial (just google it, there are loads of good tutorials!) to get an overall idea of what I did.

My idea was to get a ridiculously full skirt. I wanted to achieve this by layering 10 tulle donuts and add a visible, elastic waistband. The first problem was the tulle as such. For a knee-length circle skirt, standard-width fabric works fine. To achieve maxi length, you either have to sew together two half-donuts per layer (best idea with fine, soft tulle 😜) or find extra wide tulle fabric. As you can imagine, it took me a while to find something suitable. In the end, my aunt got me some (25 m) 2.8 m wide tulle from Paris.

I cut out quarter donuts from folded fabric, but I had to secure the folds with fabric clips to make sure the layers could not shift while cutting them. In consequence, it took me a while to cut out all ten donuts.

Next, I wanted to preassemble the donuts before sewing them together. This means, I first had to find a large enough space on the floor to lay out a circle of 2.3 m in diameter.

As the tulle layers shift easily on top of each other, I had to pin them together layer by layer, fabric clip per fabric clip. I may have taken a break after this step.

When I thought the worst part was over, I put the preassembled ten layers on the sewing machine. Sadly, even soft tulle puffs up enormously, so I could not see the foot and needle of my sewing machine anymore.

I ended up watching from the side and was sewing at an incredibly low speed to make sure I sew a straight seam catching all layers.

Adding the elastic waistband afterwards was almost a pleasure compared to any of the steps before.

However, I love this skirt and still would not change any part of it. Of course, four layers of tulle would have puffed up enough to make this an impressive skirt. You also may complain about the (intentionally!) missing layer of lining as you can still see my legs through ten layers of tulle, but I am totally fine with it. It is a bit hard to make sure the tulle does not get caught somewhere when wearing it, but it is well worth the effort. Now I am just lacking a bodice to make this my go-to evening gown. I might have something in mind already, stay tuned!

How to Sew Yourself a Bra

[advertisement: unpaid links]

I am wearing a non-standard bra size which is not available in Germany in case I insist on a modern/ lacy/ not-you-grandma style within a limited budget. I usually order my bras from the UK where sizes for full-breasted women are a lot easier to find. But when it comes to stylish soft bras, things get a lot more complicated.

As this year’s WGT is approaching and I plan to wear some tops with extra large armholes, I need something nice to wear underneath. While browsing sewing patterns, I stumbled upon Emerald Erin’s Jordy Bralette which is a pretty simple design that showcases your cloth perfectly. I turned a non-stretch, olive cotton sateen into a stunning result that sadly is unwearable.

The two cups are attached to an elastic band which is closed with hooks and eyes on the back. In my opinion, this construction makes the pattern not suitable for larger breasts as it lacks the support needed. The straps cannot compensate this. Another weakness of the pattern is that you can of course try on the cups before attaching them to the underbust elastic and straps, but you will not know if this bralette works for you until you have finished it. What a pity!

Before I could work myself up into frustration, I decided to try out Madalynne’s Barrett Bralette pattern. Before starting, I had done a little research if it was suitable for larger breasts and had found some projects that looked quite good. First, I cut and sewed the cups only from leftover scuba cloth. The largest size had a good fit, but the scuba did not give enough support for a 34F bra size. Next, I sewed the cups in a glittery, black cotton sateen containing 5% spandex. This cloth is totally not intended for lingerie, but was the perfect solution to my problem. As the barrett pattern is designed as a pull-on bra without back closure, I had to improvise a back closure due to an intended lack of elasticity. This meant finding the right back band length for my hook and eye closure (the 3XL back band was way too long!) and reshaping the back band to fit the side cup seams on the one side and my closure on the other. In fact, I just drew a line and cut away a triangle for a fast and easy solution. And here it is, my custom-sized, dark disco bralette.

I know that there are a lot of visible mistakes. I also could have added a lining as the pattern suggests, but this version will do for the moment. There still is room for improvement, but I have enough fabric left to sew myself another one. This, by the way, leads to my conclusion on how to sew a bra: just start and iterate the fit until you like it. And please, start with leftover fabric as the first try might not necessarily lead to a wearable result. 🙂

New Knitting Pattern: Sleeves

[advertisement: yarn sample, unpaid links, my own business]

I like the idea of shrugs to add sleeves to a sleeveless top on chilly summer evenings. The problem I have with them is that the connection between the sleeves covers the back of the top underneath. As it always looks ridiculous when you pair a shrug with a dramatic top, I decided to find a solution to my problem.

What I wanted was a pair of dramatic sleeves held together in a minimalist way. When I was still figuring out the details, I was given three balls of GGH Bambu for free at Yarncamp 2018 which turned out to be the perfect yarn with its wonderful drape. It was clear that I needed more yarn, so I bought seven more balls.

gathered sleeve

The result is a pair of extremely oversized balloon sleeves, held together by a steel chain at the neck and two i-cords to adjust the fit at your lower back:

© ggh-garn.de
© ggh-garn.de

You can buy the pattern on Ravelry. I am looking forward to see your interpretations!

The sample used almost ten balls of GGH Bambu in colourway 012 anthracite. Thanks a lot for providing the photos, ggh-garn.de!

skull cord ends