Have you ever wondered why maxi length, DIY tulle circle skirt tutorials are really hard to find? I’m going to explain. But first, you should take a look at any DIY tulle circle skirt tutorial (just google it, there are loads of good tutorials!) to get an overall idea of what I did.
My idea was to get a ridiculously full skirt. I wanted to achieve this by layering 10 tulle donuts and add a visible, elastic waistband. The first problem was the tulle as such. For a knee-length circle skirt, standard-width fabric works fine. To achieve maxi length, you either have to sew together two half-donuts per layer (best idea with fine, soft tulle 😜) or find extra wide tulle fabric. As you can imagine, it took me a while to find something suitable. In the end, my aunt got me some (25 m) 2.8 m wide tulle from Paris.
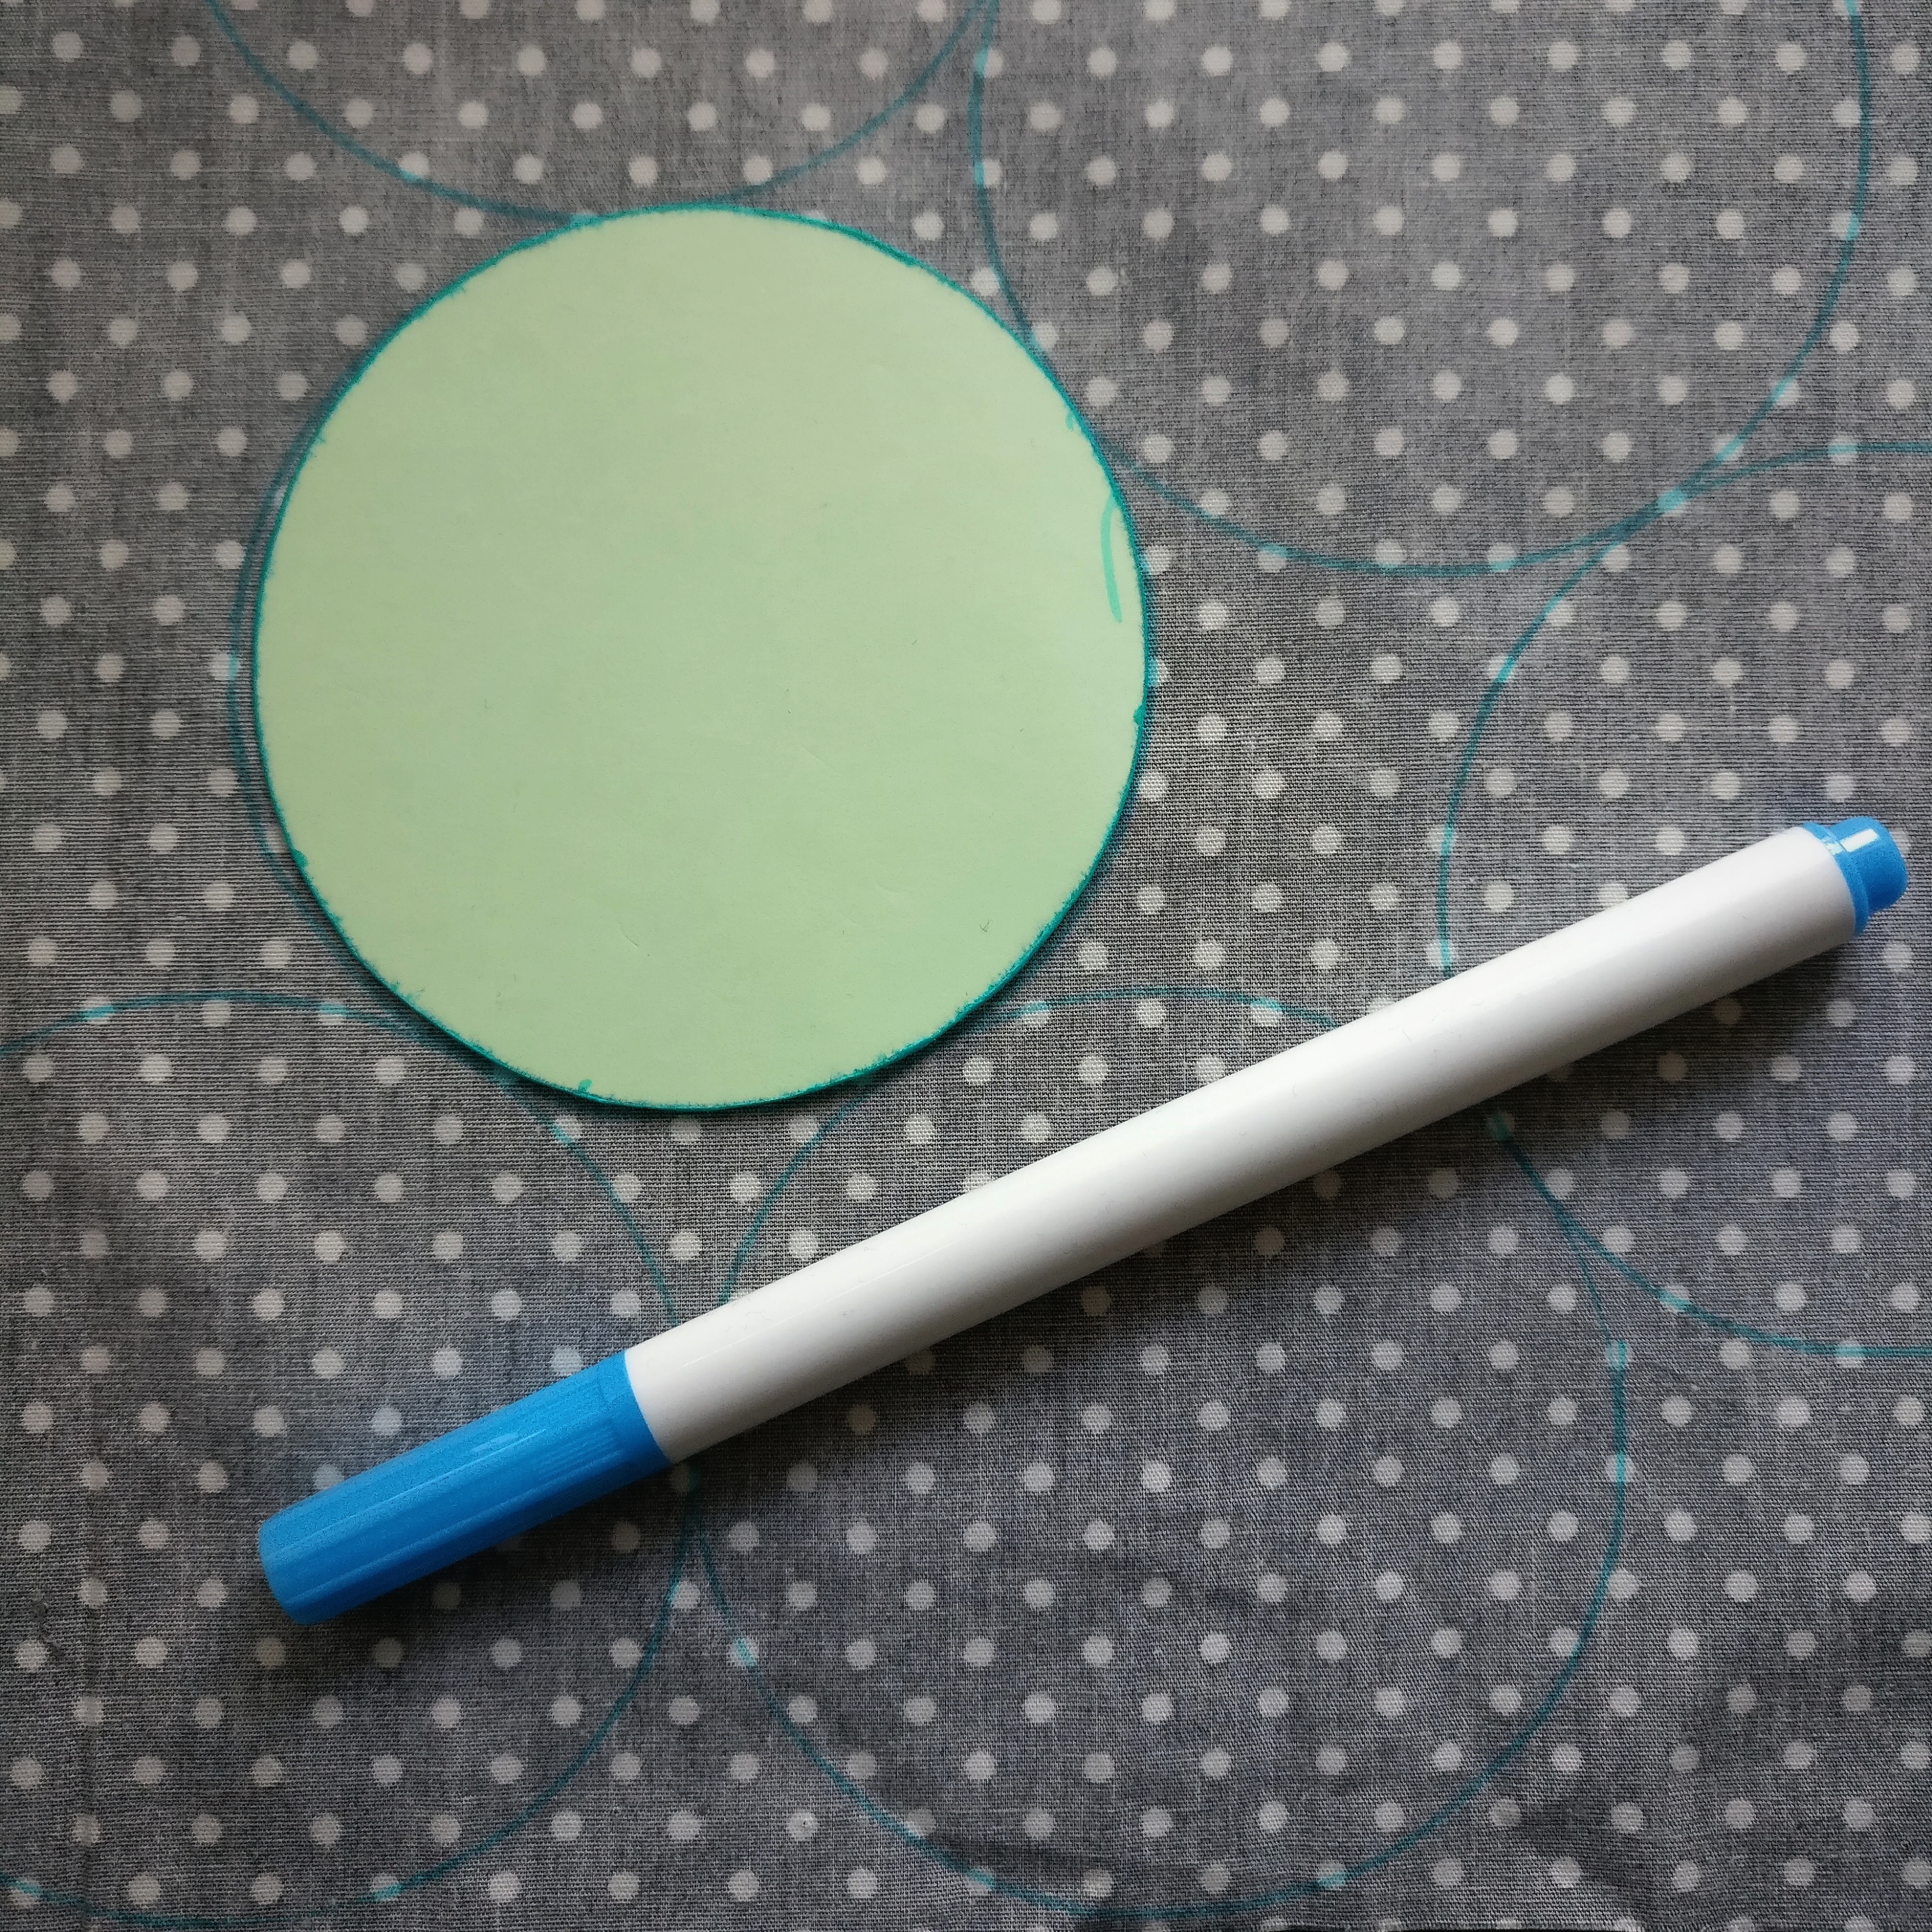
I cut out quarter donuts from folded fabric, but I had to secure the folds with fabric clips to make sure the layers could not shift while cutting them. In consequence, it took me a while to cut out all ten donuts.

Next, I wanted to preassemble the donuts before sewing them together. This means, I first had to find a large enough space on the floor to lay out a circle of 2.3 m in diameter.

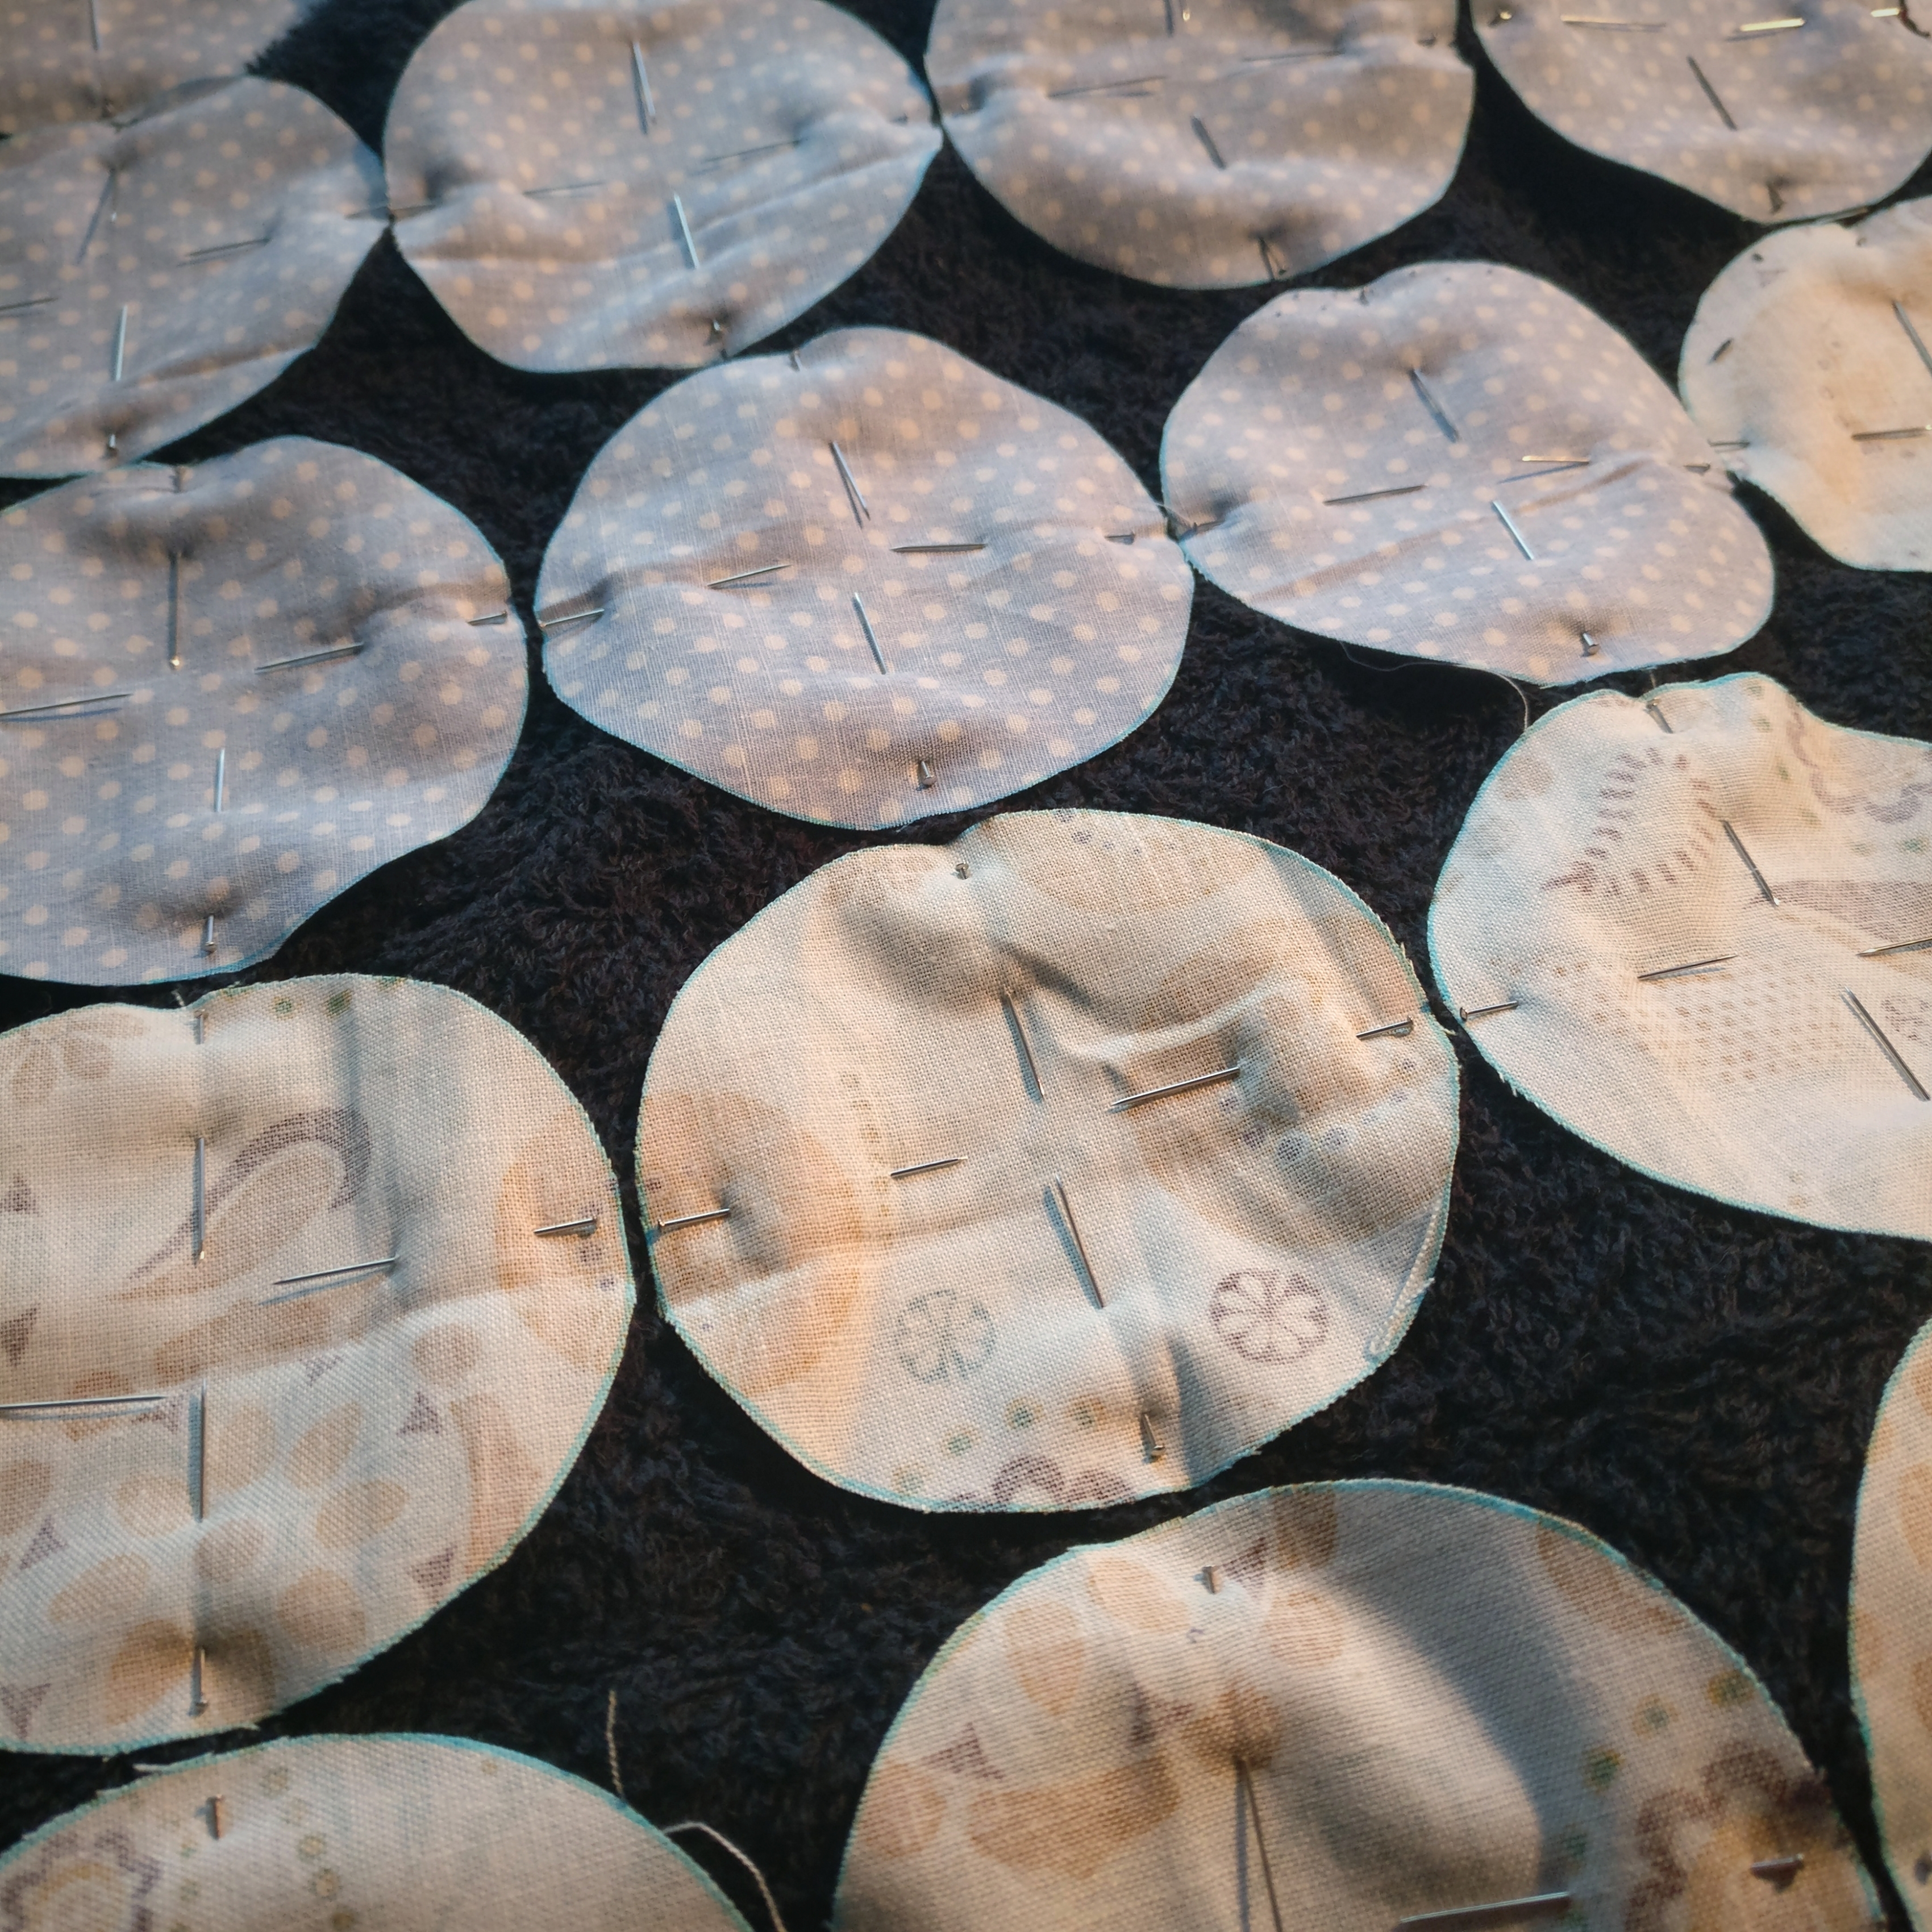
As the tulle layers shift easily on top of each other, I had to pin them together layer by layer, fabric clip per fabric clip. I may have taken a break after this step.

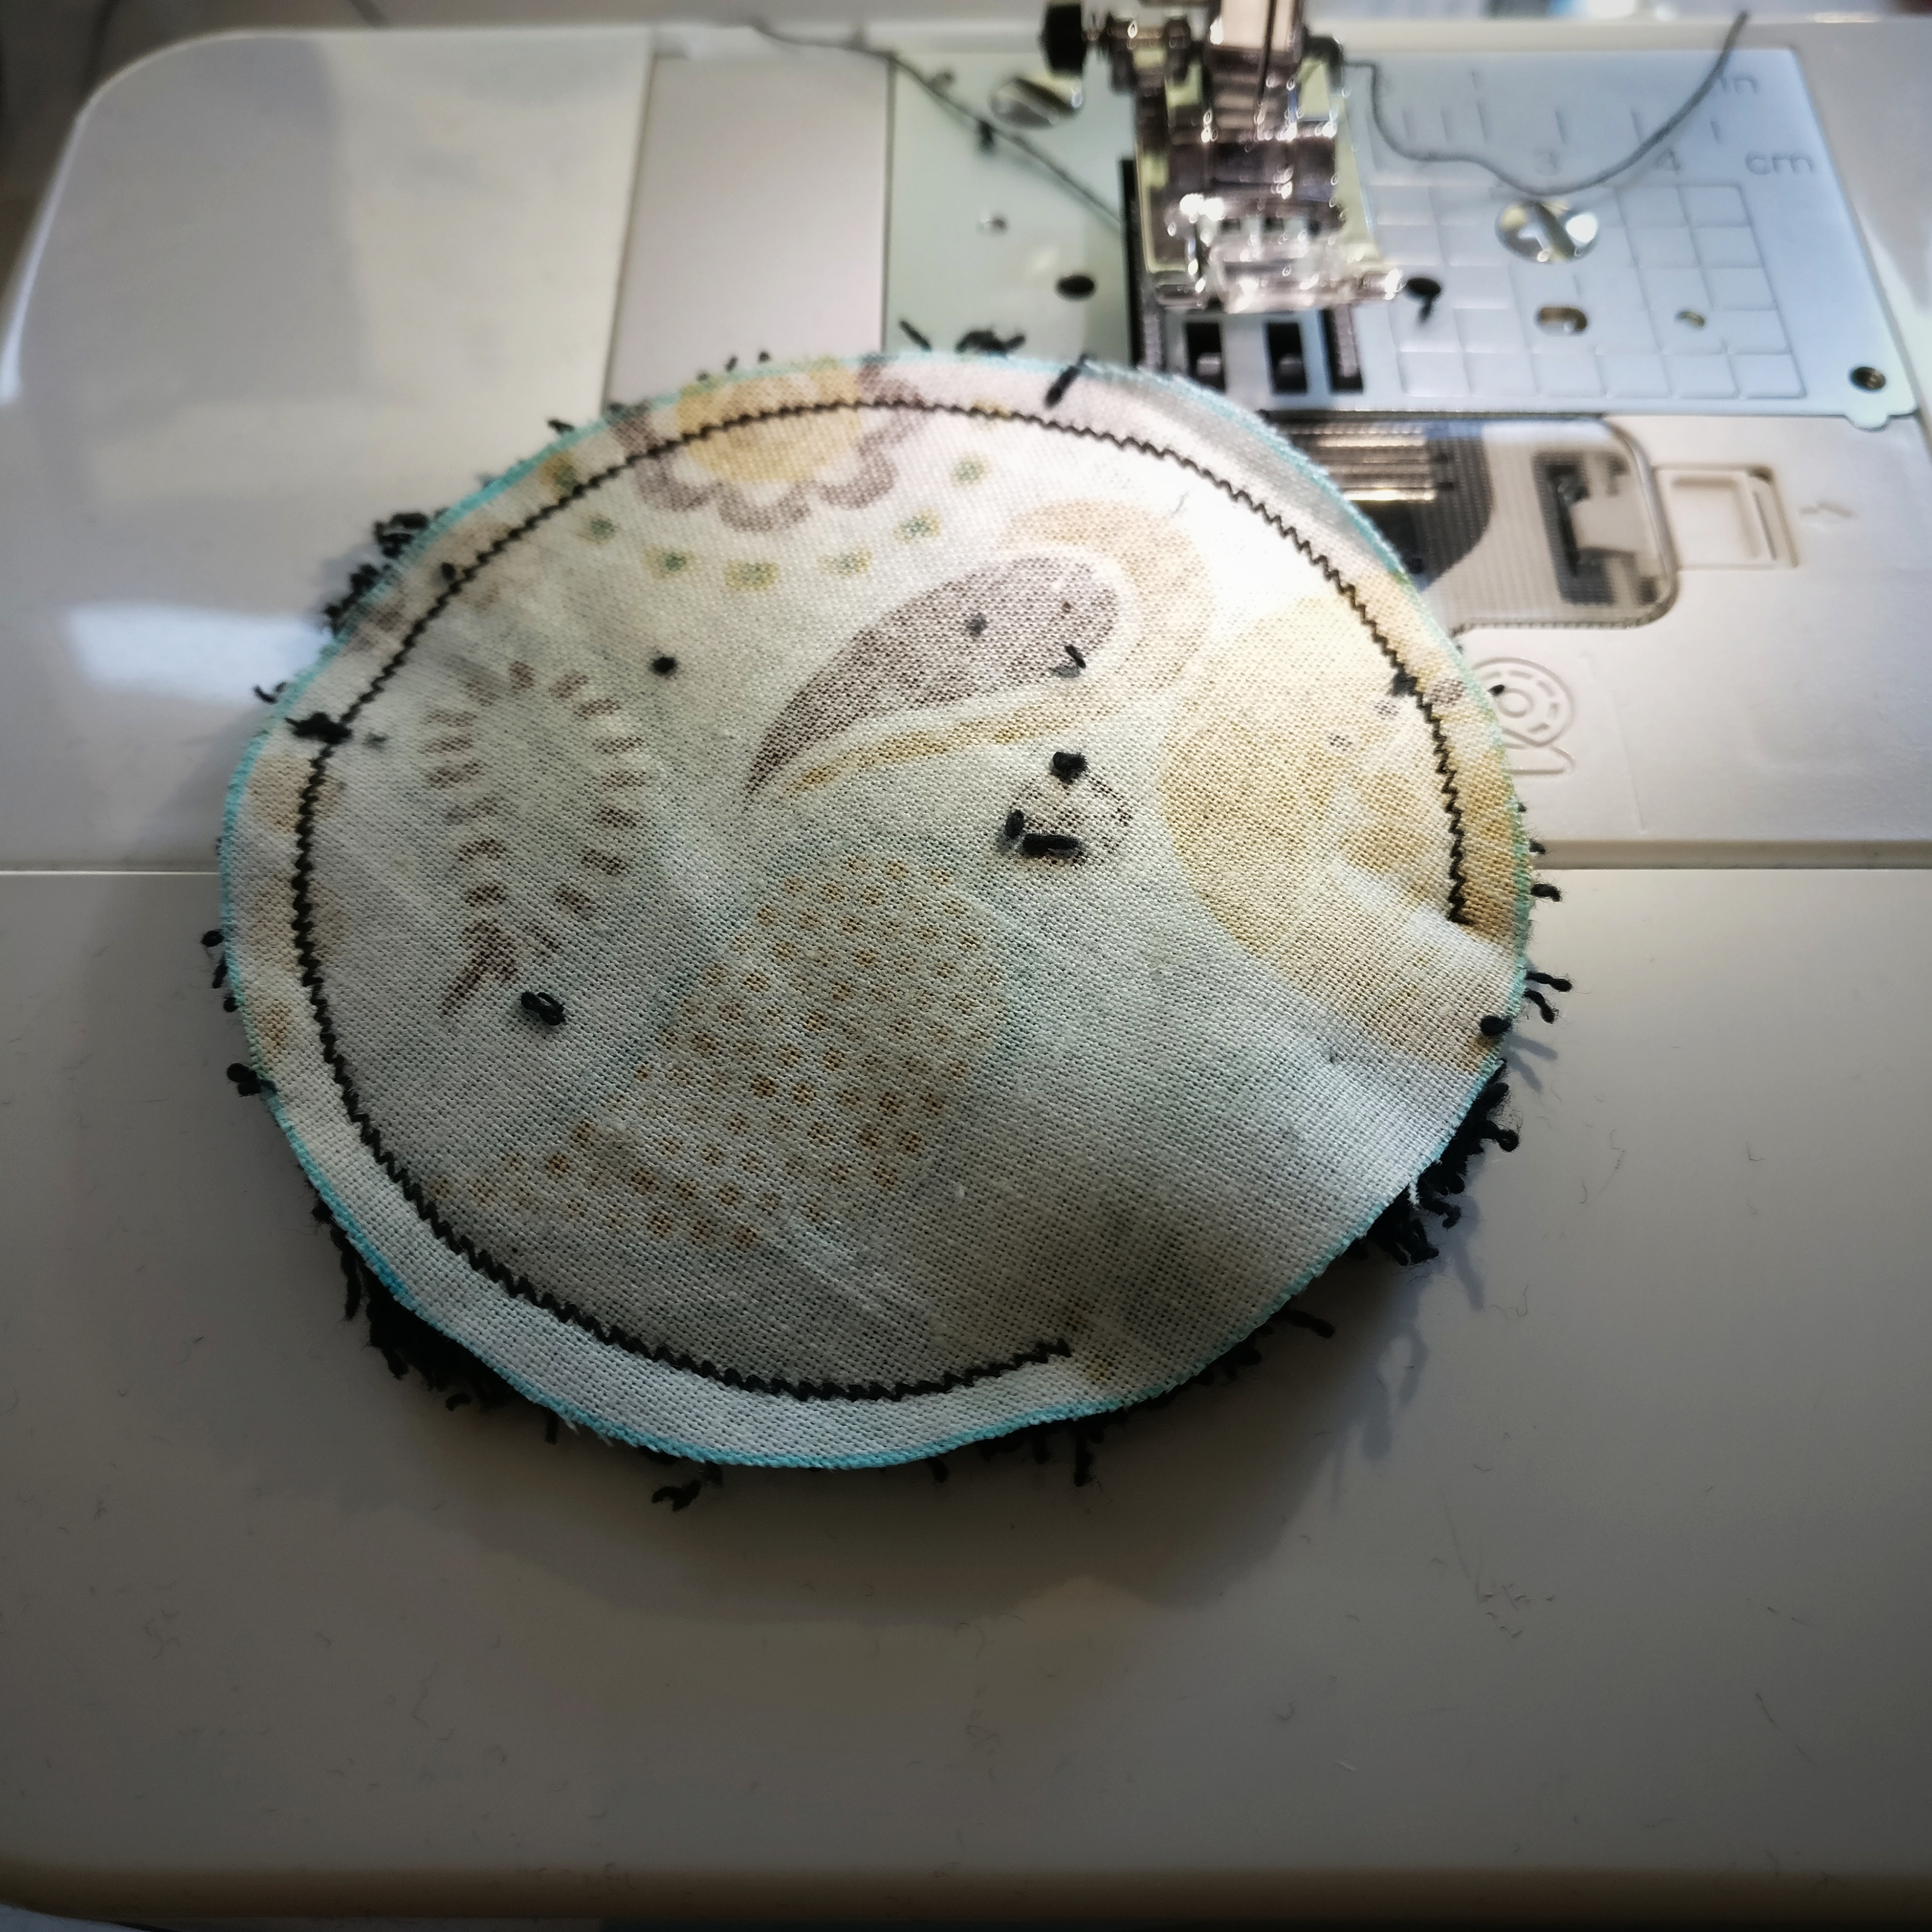
When I thought the worst part was over, I put the preassembled ten layers on the sewing machine. Sadly, even soft tulle puffs up enormously, so I could not see the foot and needle of my sewing machine anymore.
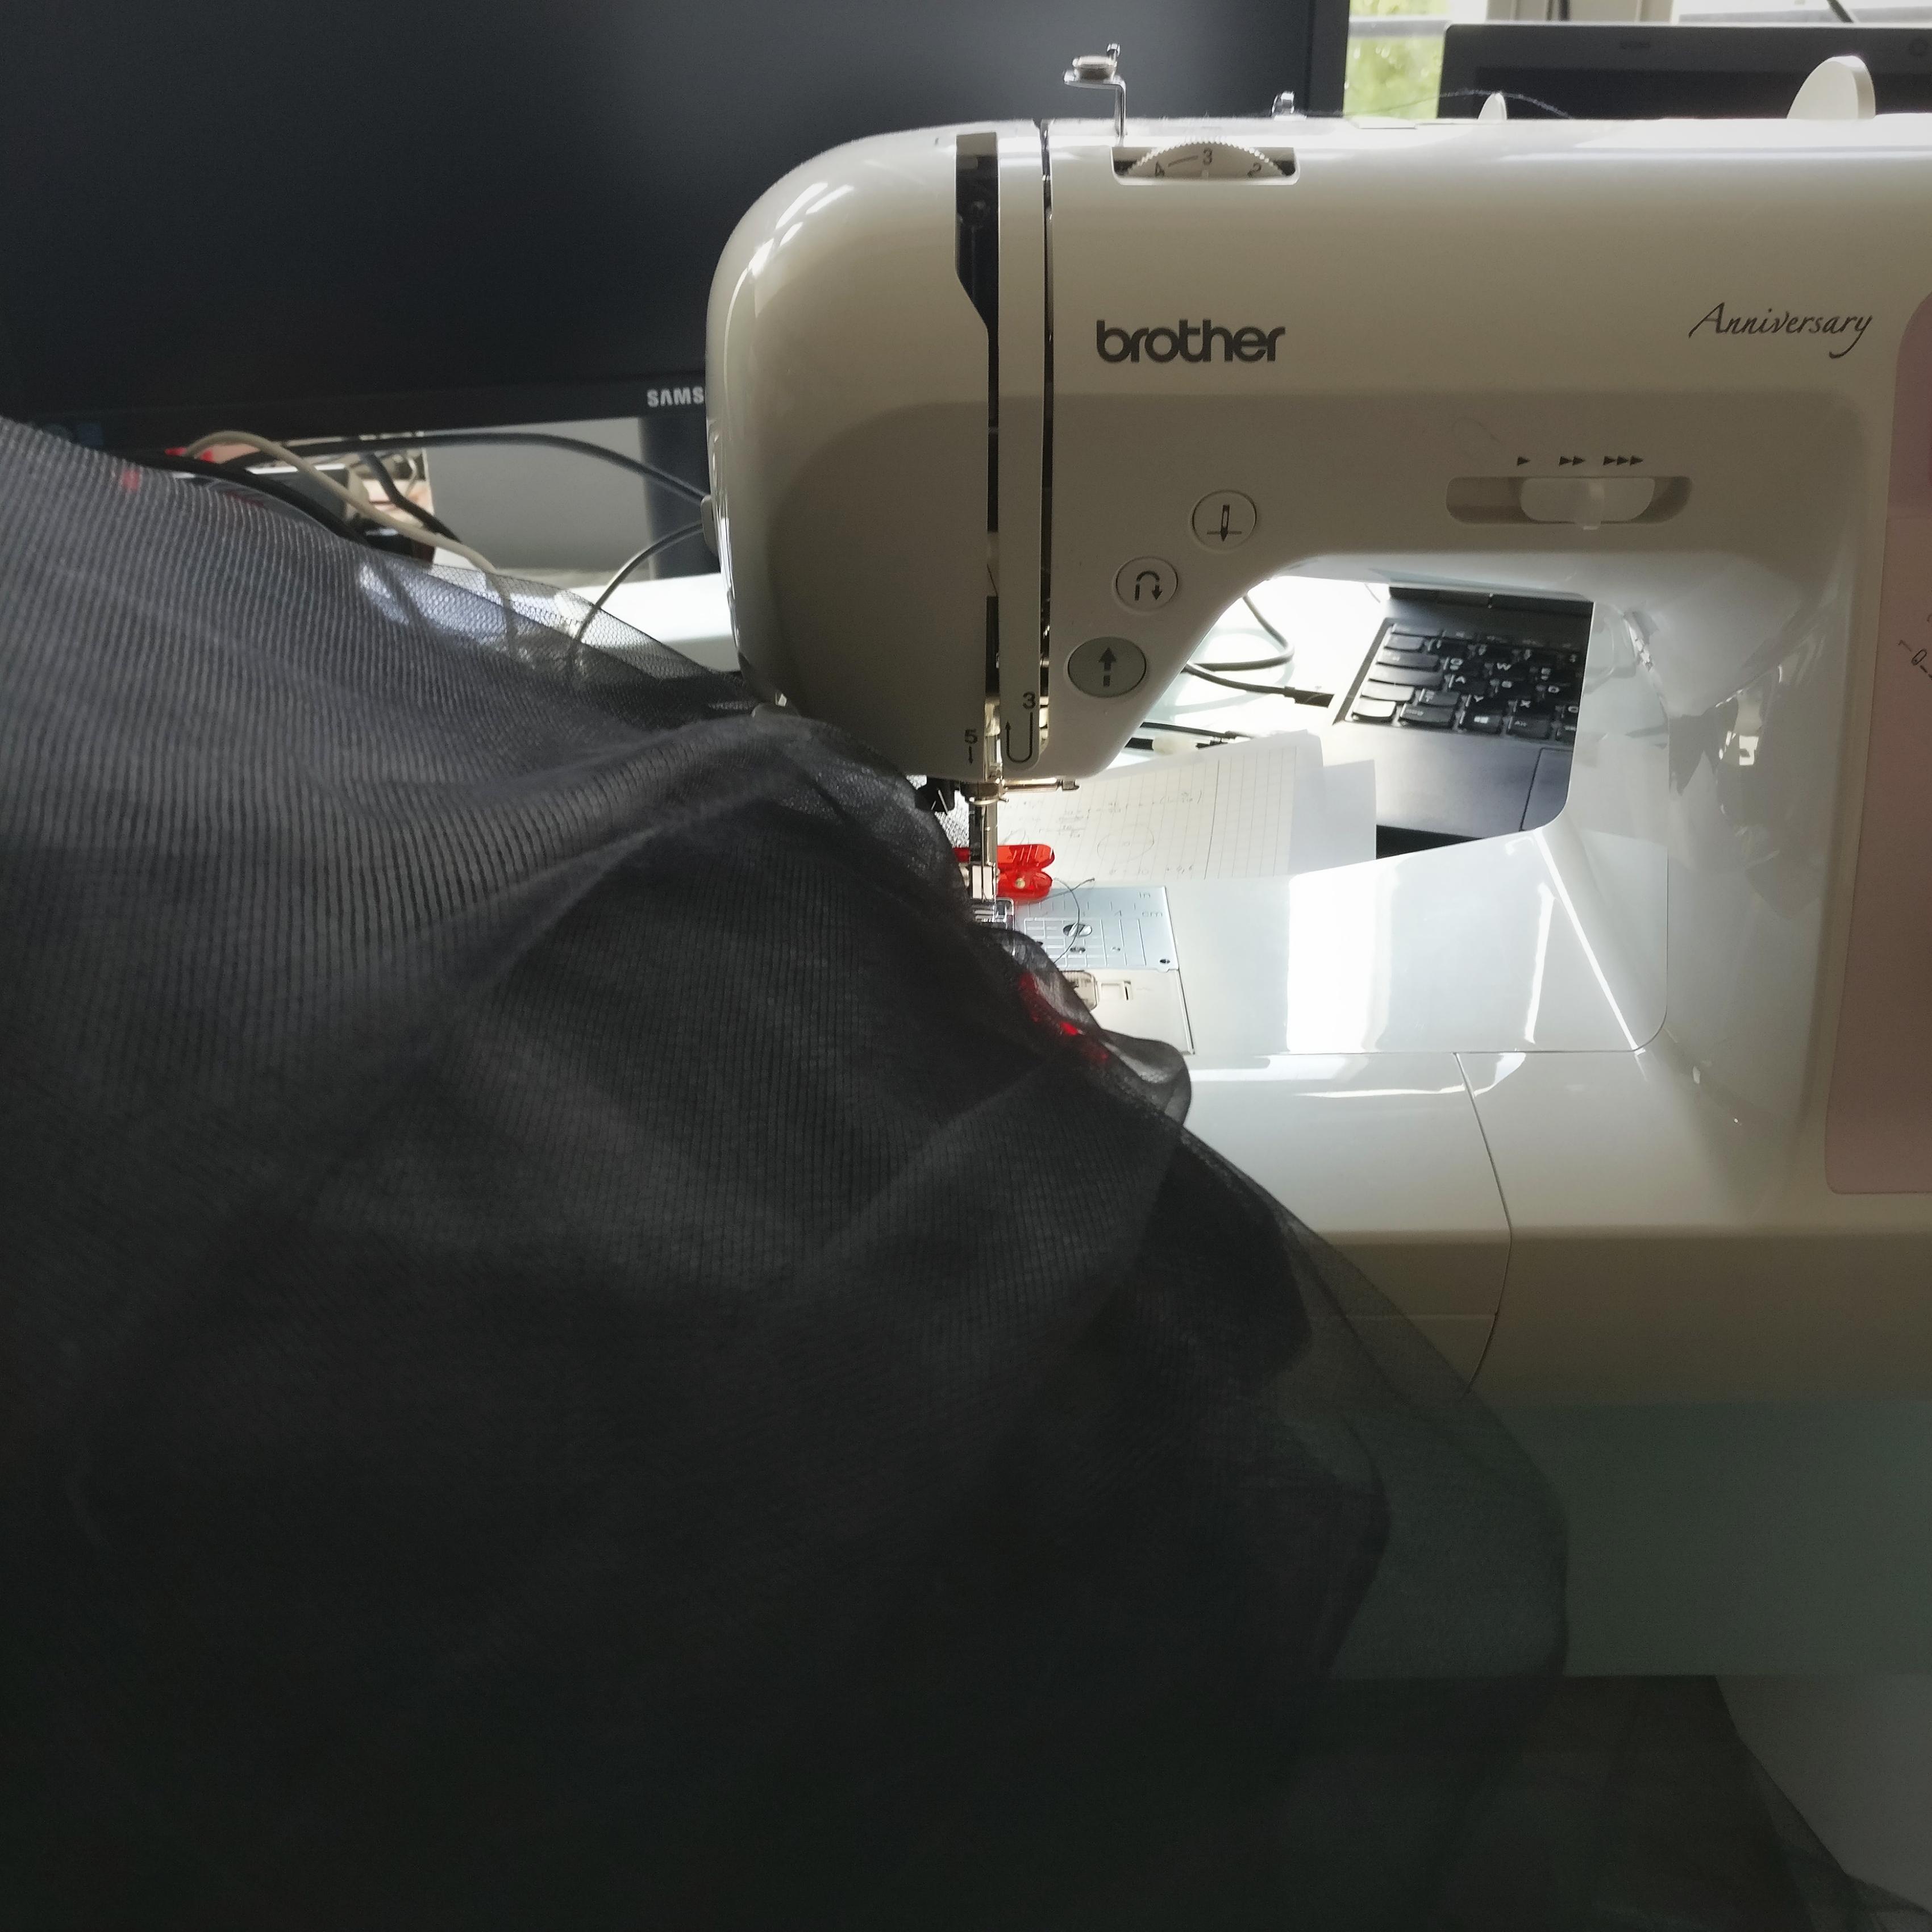
I ended up watching from the side and was sewing at an incredibly low speed to make sure I sew a straight seam catching all layers.

Adding the elastic waistband afterwards was almost a pleasure compared to any of the steps before.
However, I love this skirt and still would not change any part of it. Of course, four layers of tulle would have puffed up enough to make this an impressive skirt. You also may complain about the (intentionally!) missing layer of lining as you can still see my legs through ten layers of tulle, but I am totally fine with it. It is a bit hard to make sure the tulle does not get caught somewhere when wearing it, but it is well worth the effort. Now I am just lacking a bodice to make this my go-to evening gown. I might have something in mind already, stay tuned!